Entries in vandercook (3)

Thursday
Jun282012

Two-Color Linoleum Cut Class: July 28

I'm excited to announce that I will be teaching the 2-color linoleum cut workshop at Evanston Print & Paper Shop again in late July. 

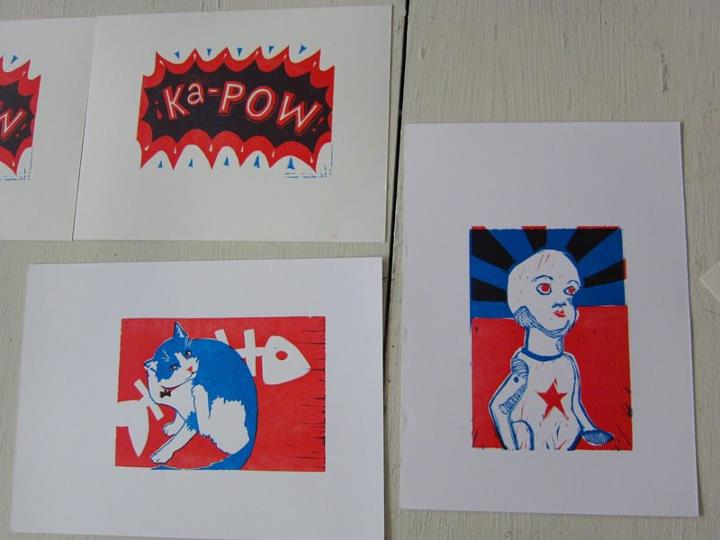
"Linocut is a relief printmaking technique similar to woodcut or a wood engraving, where a flat surface of linoleum is carved with a knife or gouge tool and inked as a printing surface. In this Two-Color Linocut Workshop, participants will be guided through design strategies for relief printmaking, develop an understanding of the printmaking medium as well as the materials and equipment used in the process, and will get to take home a small two-color linocut print that they have designed, carved and printed themselves on a Vandercook proofing press. No previous printmaking experience is required!"

To sign up please contact eileen@evanstonprint.net or call the studio at 847-475-7674. It's going to be a great time, I look forward to seeing you there!

Sunday
Dec052010

Printing Process

After a festive day at Renegade yesterday, I spent an early snowy morning at the studio finishing the first half of the Christine Jorgensen diptych. 

First I trimmed the block on the studio's table saw. This is a wonderfully lazy method: without a saw I could have carved out the extra several square inches on the block, but why put my finger joints through that when better tools are available? 

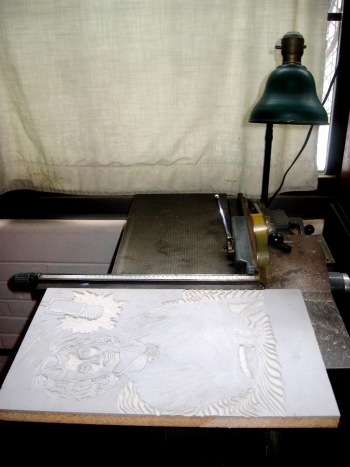
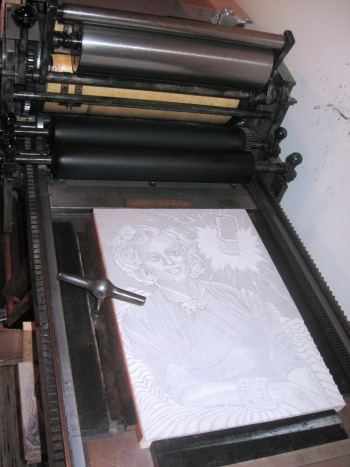
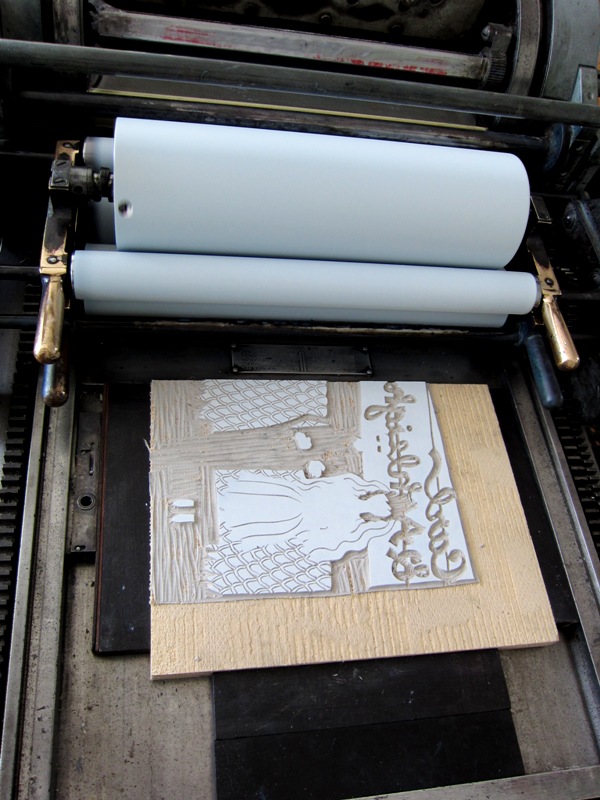
Next, I locked the block into the bed of the press. A few pieces of chipboard are cut to match the dimensions of the linoleum block and packed in underneath, to bring the surface of the linoleum to type high (that is, the height where the rollers will hit the block). The carved block is kept in place with long blocks of wood (called furniture) and a quoin, which can be expanded to snugly lock in the furniture and the block by rotating the quoin key.

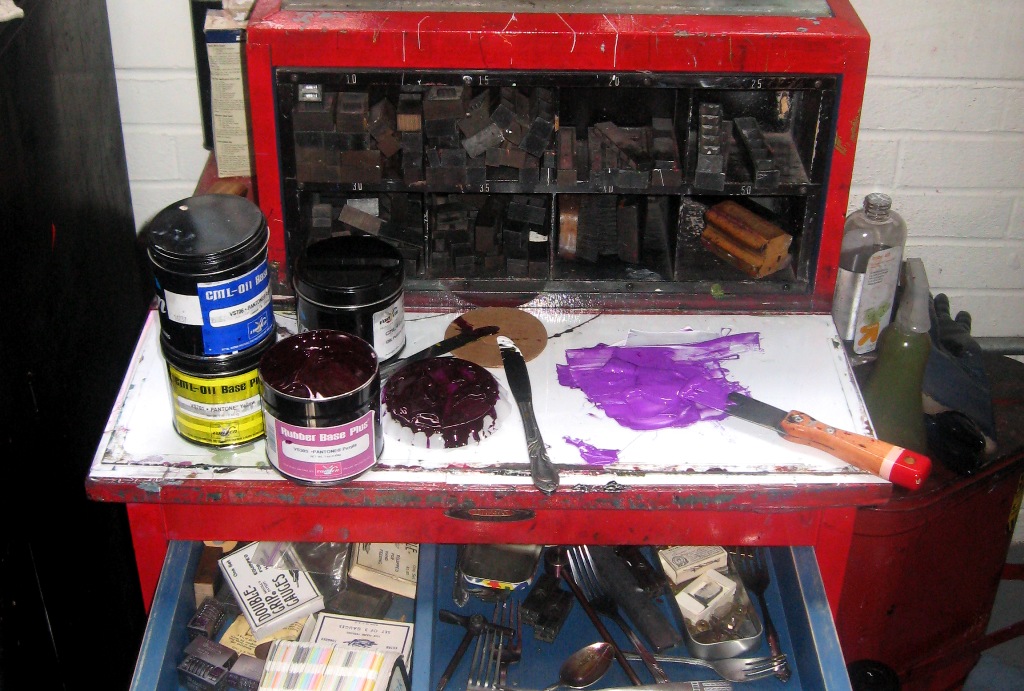
Then I mixed the ink. For consistency throughout the full run of this project, I kept the ink mixture as simple as possible so I can closely match it again in the future. I bought a can of purple ink and mixed it half and half with opaque white. 

After inking up the press, I pulled a first proof on scrap paper. This is always an exciting moment for me as a printer, to finally see the result of all the hours of carving labor hunched over at my desk.

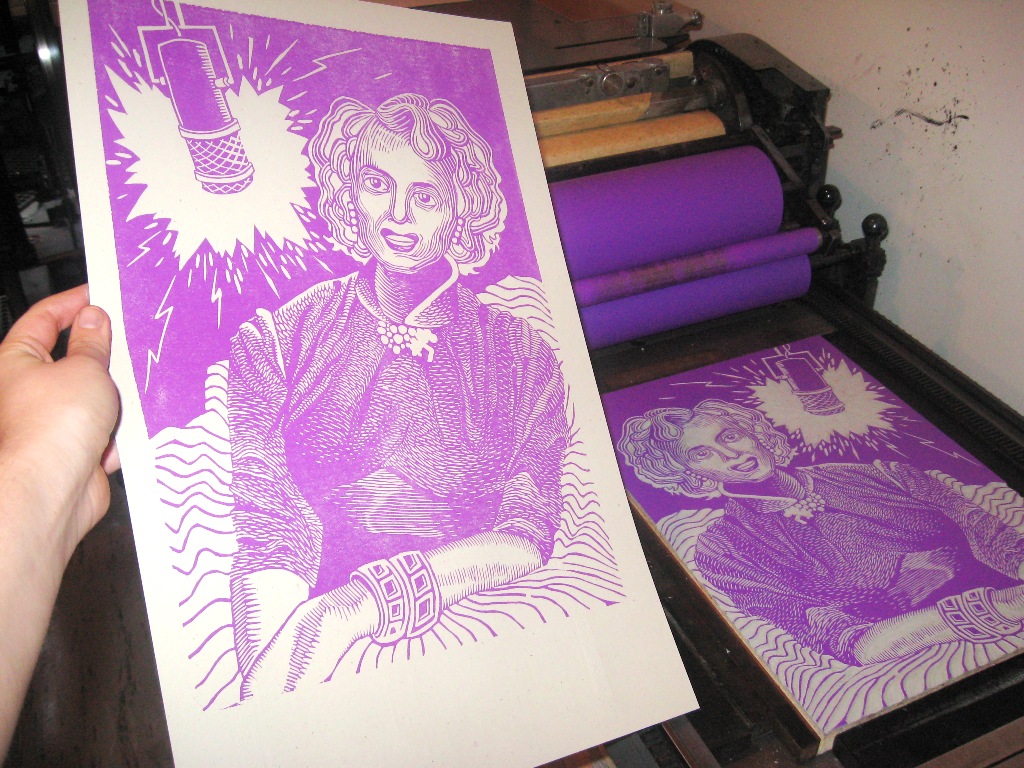
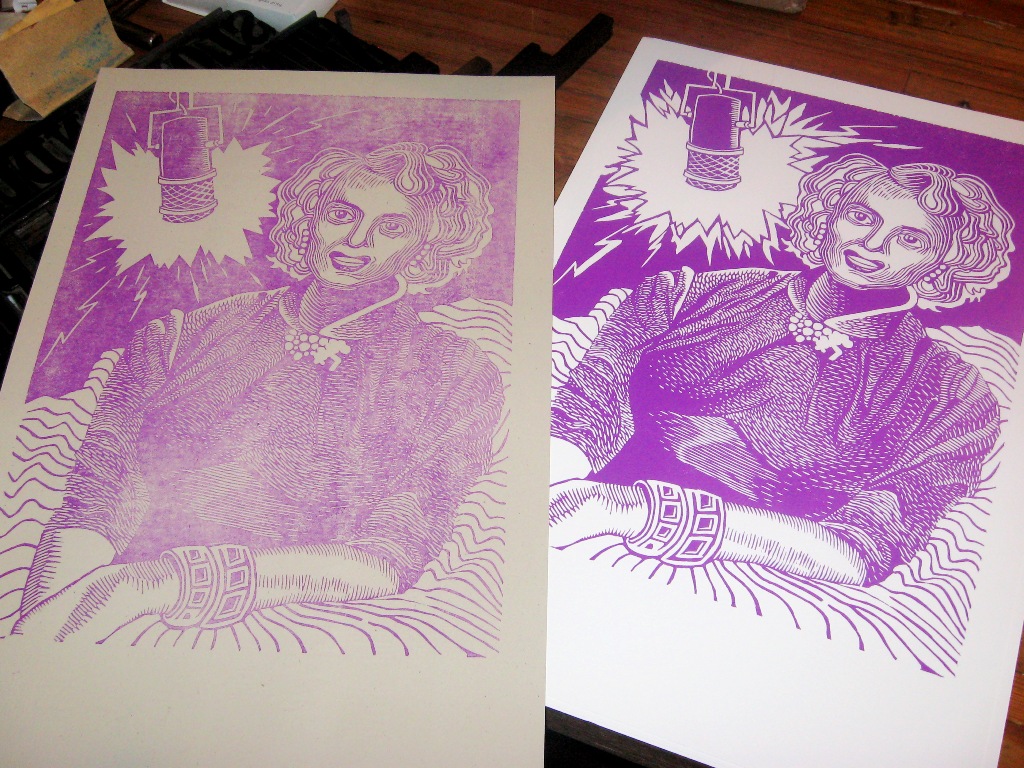
But that isn't to say that the carving is done, or that the block is ready to print! The first proof is on the left, and the final print is on the right. I saw from the spotty, lightly textured first proof that I needed to add more chipboard under the block to raise it up high enough for even contact with the inked rollers. I also err on the side of leaving too much not carved, so that I can cut more away once I see how the block prints. Looking at the proof I decided that I did not like the wimpy-looking "electric" movement out of the microphone, so I improvised some more cuts for a more balanced & bold look.

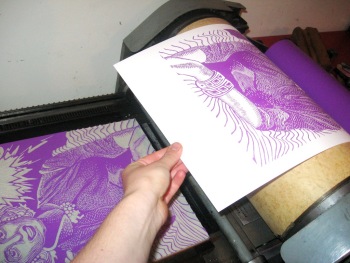
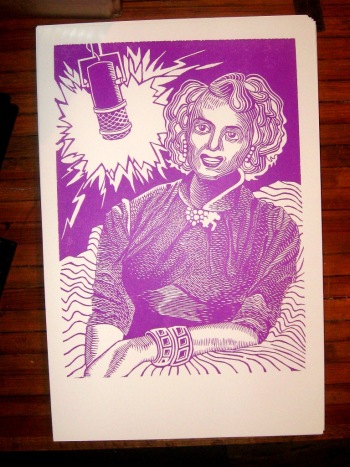
Then all that was left was to print the full edition. I printed 60 for a final edited edition of 50, giving room for me to take out of the run any prints that were under-inked, gunky or imbalanced in some way.

And there she is!

Saturday
Nov202010

Facts, Hercule, facts!


I spent this grey, windy Chicago Saturday working on the Christine Jorgensen print. My first step today was to tape the drawing to the linoleum block with graphite paper underneath. The image is just smaller than the block at 11" x 15", so I chose the best corner of the block and lined up the paper's corner against those two edges before taping. I will trim off the excess borders on the table saw at the studio before printing, to save myself the effort of extra carving.

Side note: one thing that I learned the hard way about printing linoleum blocks on a vandercook is that mounted linoleum blocks that you can buy at art stores or online are often not cut perfectly square, which can be a nightmare to print if registration is important. (Registration in printmaking refers to the amount of variance and accuracy in the overlapping of different colors in a single print.) An irregular block might look and feel like it is properly locked in to the bed of the press, but every time the rollers pass the block has a tendency to travel quite significantly. The first pass of my first multi-color linoleum print travelled wildly--more than half an inch--and I didn't notice until more than halfway through the run. Disaster! Although this is a one-color print, squaring the image is still good practice.

Now, tracing. Again. This is the 2nd time the image has been traced, after the mirror-flip trace on the light box.

Finally, the fun: carving! After honing my tools to be sure they are sharp, I started carving. This is a detailed print, so carving takes quite a while. It is an engaging process, but let's be honest: sitting down to carve for 5 or 6 hours at a time can make a girl's mind wander towards less hand-aching tasks. I get the least distracted when I carve by listening to movies or the radio; this was a Shot in the Dark/My Blue Heaven/His Girl Friday-length carve.

This might not look like much for 5ish hours of work, but I am quite pleased with it so far.

Back to the block!

Errors occurred while processing template[pageRendered/journal.st]:
StringTemplate Error: Can't parse chunk: {settingHomePageKBArticle}" target="_blank">Learn how.</a></li>
<li>If you have already selected a front page, make sure it is enabled. Click on the Cubes icon (top right) and then click the "enable page" button.</li>
</ol>
</div>

: expecting '"', found '<EOF>'
StringTemplate Error: problem parsing template 'pageRendered/noDefaultModule': null