Printing Process
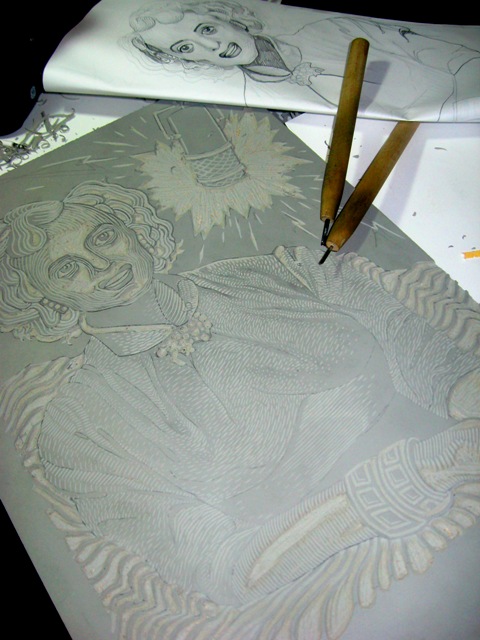
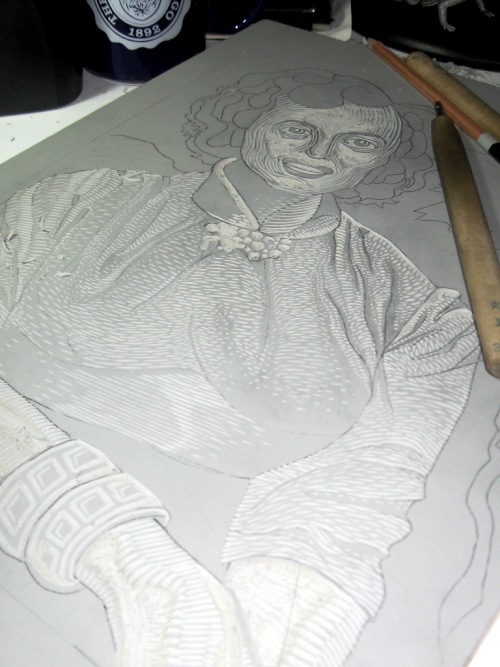
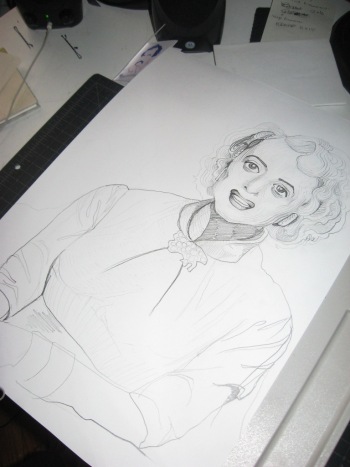
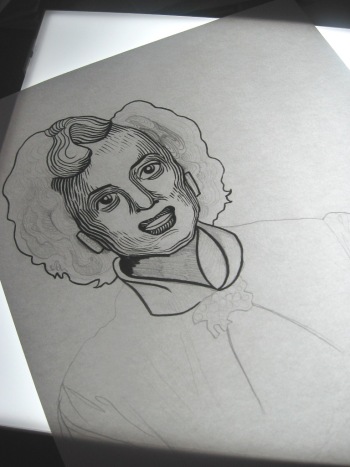
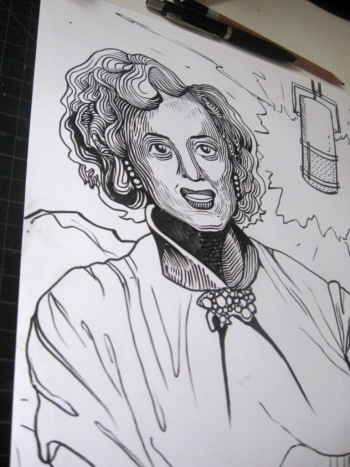
After a festive day at Renegade yesterday, I spent an early snowy morning at the studio finishing the first half of the Christine Jorgensen diptych.
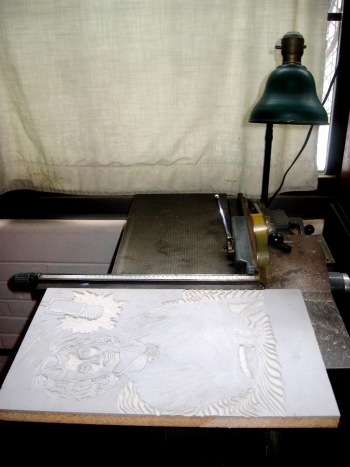 First I trimmed the block on the studio's table saw. This is a wonderfully lazy method: without a saw I could have carved out the extra several square inches on the block, but why put my finger joints through that when better tools are available?
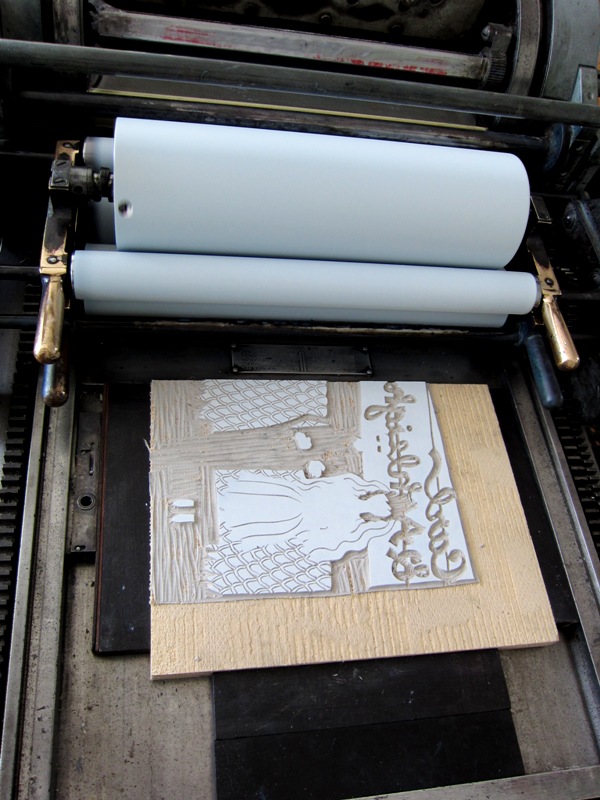
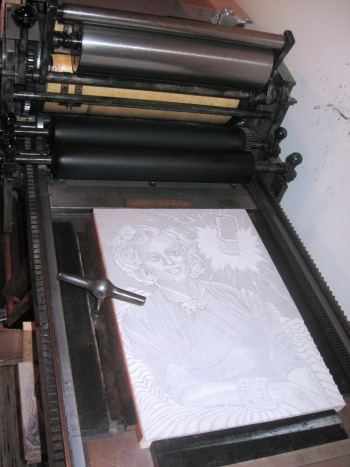 Next, I locked the block into the bed of the press. A few pieces of chipboard are cut to match the dimensions of the linoleum block and packed in underneath, to bring the surface of the linoleum to type high (that is, the height where the rollers will hit the block). The carved block is kept in place with long blocks of wood (called furniture) and a quoin, which can be expanded to snugly lock in the furniture and the block by rotating the quoin key.
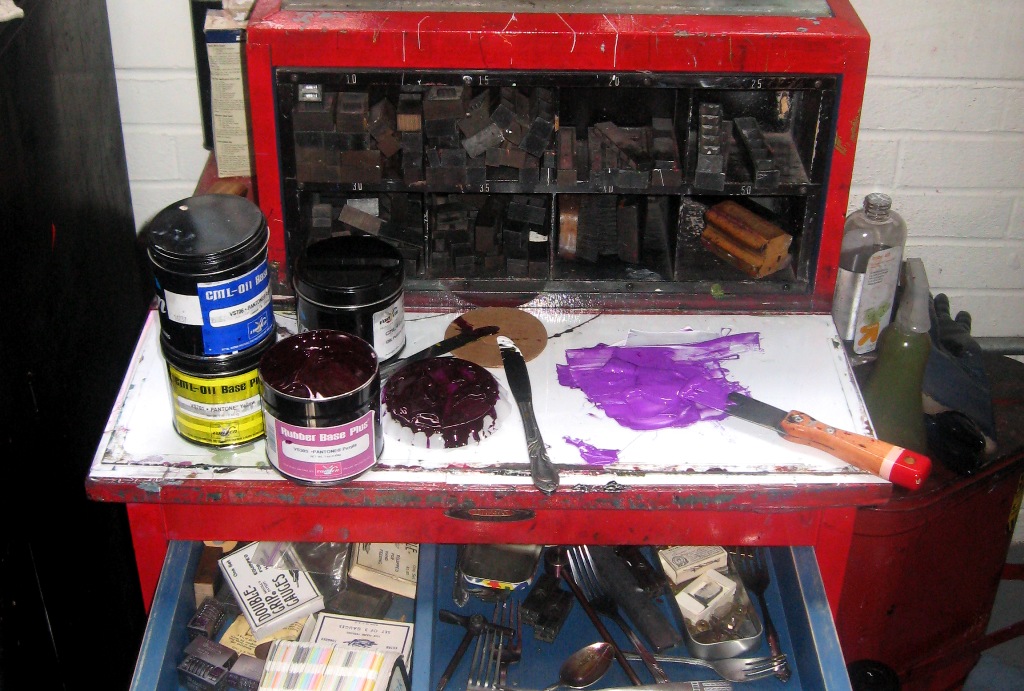
Then I mixed the ink. For consistency throughout the full run of this project, I kept the ink mixture as simple as possible so I can closely match it again in the future. I bought a can of purple ink and mixed it half and half with opaque white.
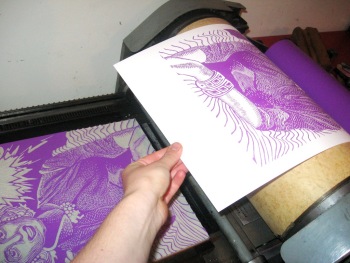
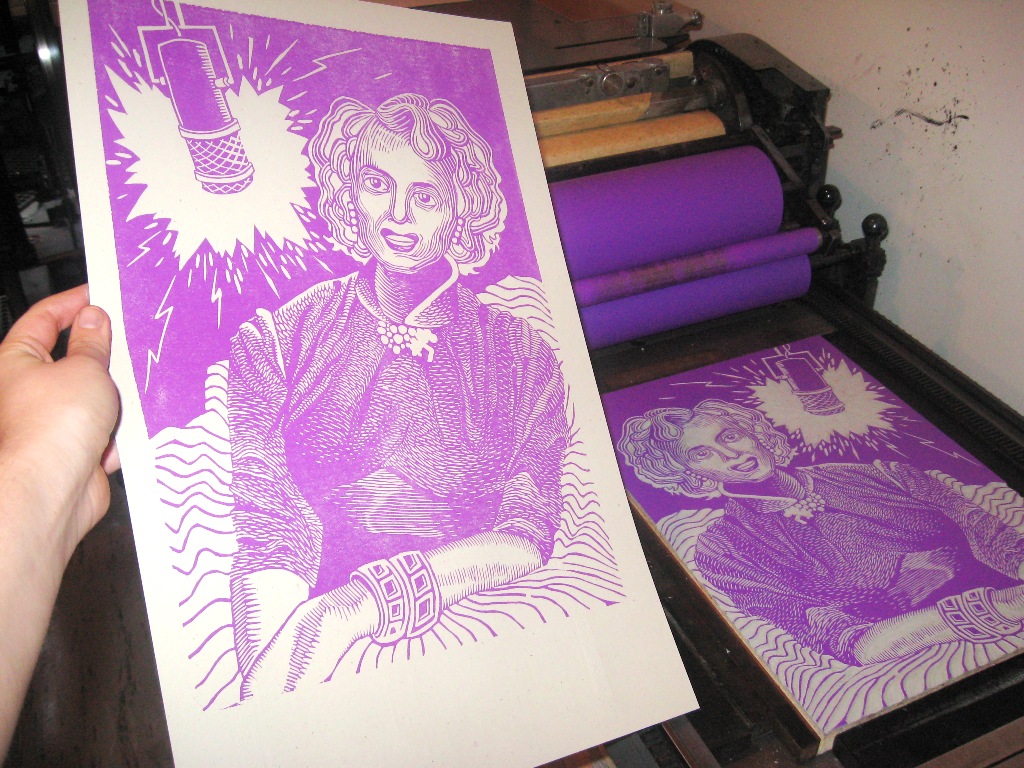 After inking up the press, I pulled a first proof on scrap paper. This is always an exciting moment for me as a printer, to finally see the result of all the hours of carving labor hunched over at my desk.
 But that isn't to say that the carving is done, or that the block is ready to print! The first proof is on the left, and the final print is on the right. I saw from the spotty, lightly textured first proof that I needed to add more chipboard under the block to raise it up high enough for even contact with the inked rollers. I also err on the side of leaving too much not carved, so that I can cut more away once I see how the block prints. Looking at the proof I decided that I did not like the wimpy-looking "electric" movement out of the microphone, so I improvised some more cuts for a more balanced & bold look.
 Then all that was left was to print the full edition. I printed 60 for a final edited edition of 50, giving room for me to take out of the run any prints that were under-inked, gunky or imbalanced in some way.
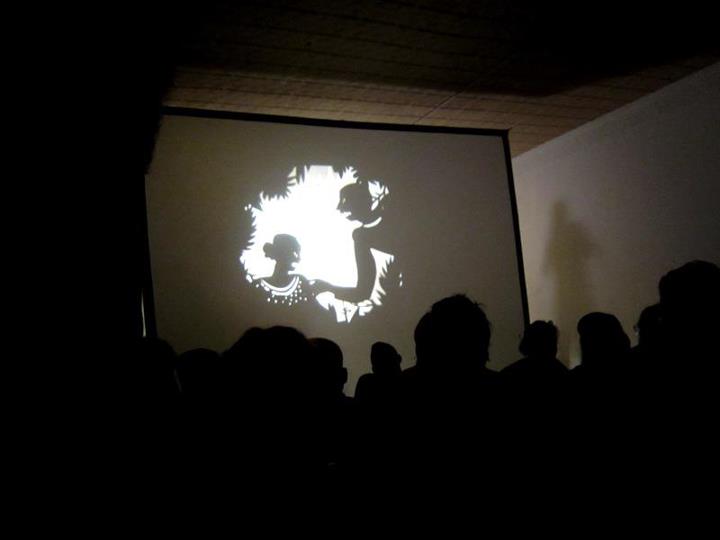
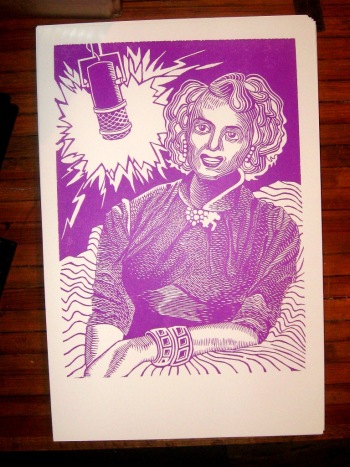 And there she is!
 Letterpress